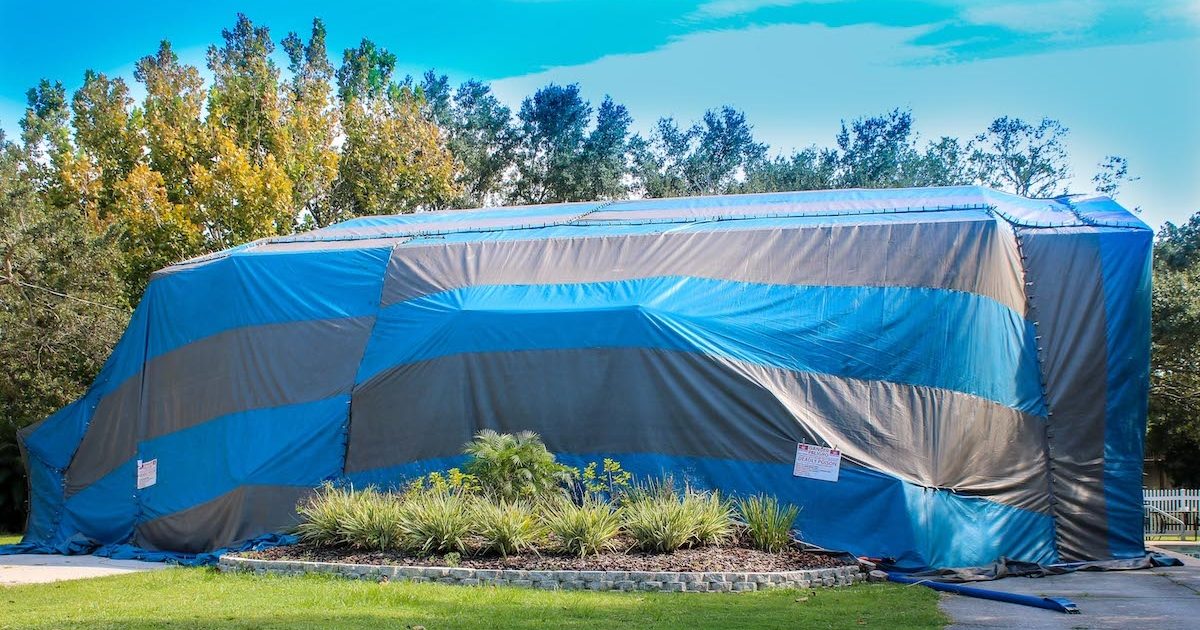
Have you seen a home in your neighborhood with a big tent over the entire house and nobody was home for a little bit? Ever wonder what was going on and why the tent was covering your neighbor’s house? Has someone told you that you have termites or do you suspect that you may have a swarm of them in your home? Well, this process is about Drywood Termite Tenting. There are seven stages of tenting a home or property with Drywood Termites to eradicate these damaging pests.
Neighborhoods Prone to Drywood Termite Infestations
People ask us all of the time, “why does our neighborhood have a large number of homes that require drywood termite tenting”? We educate our clients that the following conditions are present, which creates a higher concentration of drywood termites in a neighborhood:
- Older neighborhood
- Neighborhood close to the Gulf of Mexico (in Florida)
- Property on or near dense woods
- Wood frame structures
The neighborhoods that we see a higher concentration of drywood termites located in are Crystal Beach, South Tampa, St. Petersburg, Clearwater, etc. If numerous neighbors have had to be tented, the likelihood is higher that you may be next. That is why it is so important to have regularly scheduled pest control maintenance to prevent or to detect termites quickly.
Stage One – Detect Termites
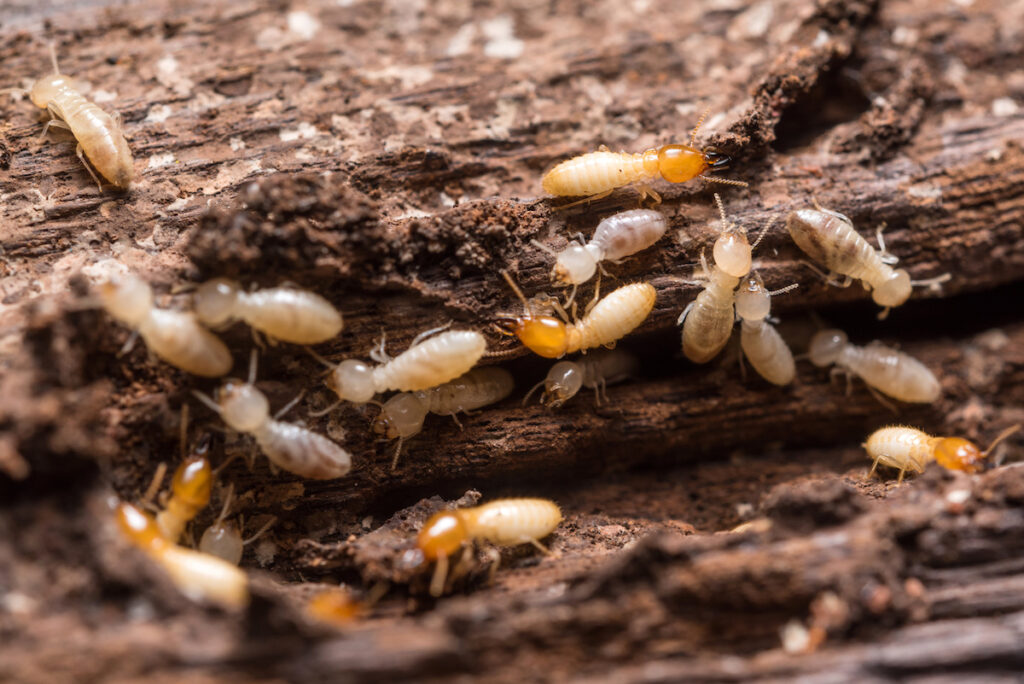
The first stage is to detect termites in your home or property. At Drive-Bye Exterminators, we inspect areas of exposed wood, such as attics, walls or decks where termites hide, nest and feed. Termites tunnel through the wood and ruin its integrity. Drywood termites can cause expensive and extensive damage to a home. Upon a visual inspection, if you have termites, we will find termite wings, fecal pellets or “frass,” hollow wood, hard-to-close doors, and hard-to-open windows, and wood tunnels.
Stage Two – Prepare House

The second stage is to prepare your home for tenting. At Drive-Bye Exterminators, we supply the homeowners with a checklist of things to do before the fumigation. It includes items such as:
- Trimming any plants, shrubbery and tree branches that are closer than twelve inches to the structure
- Seal food items or anything consumable in airtight glass or metal containers or remove them from the structure before fumigation
- Open all openings to crawl spaces of attics and subfloors.
- Unplug all heating elements
- All pilot lights must be extinguished
- Remove or open all sealed storage boxes
The checklist is for your safety and to ensure that we eradicate all of the drywood termite adults, larvae, offspring, and queens that may be hidden away in items throughout the home.
Stage Three – Put Up Tent
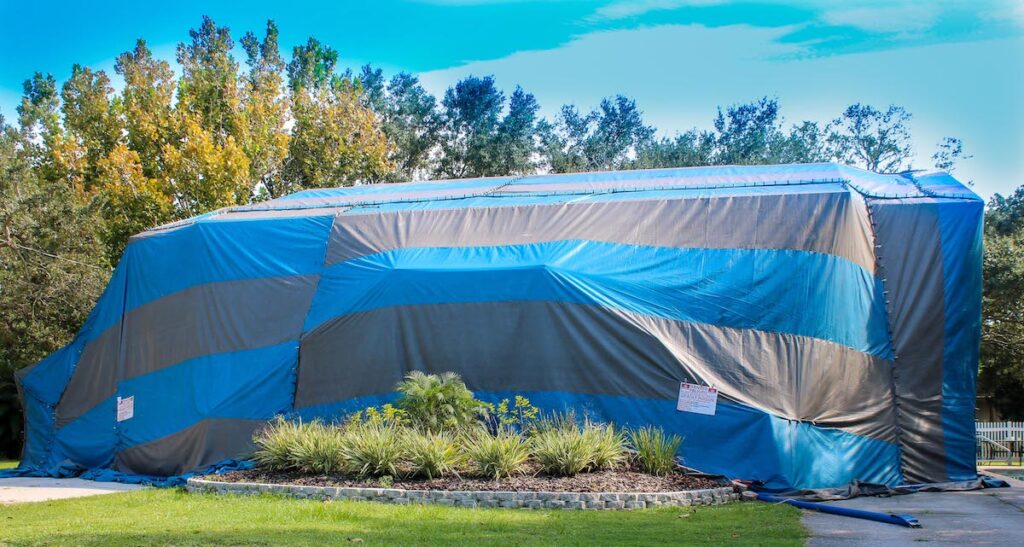
The professionals at Drive-Bye Exterminators carefully use large tarps to put over and around your home. These tarps are unrolled and strategically placed all around your home.
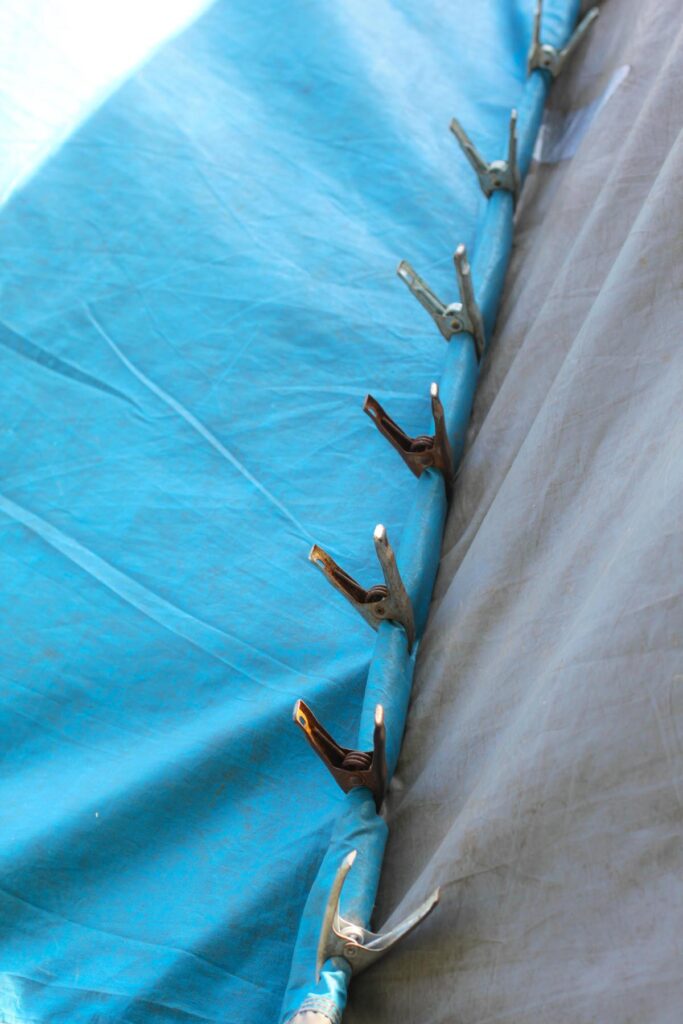
We close the tent material using high tension clamps.
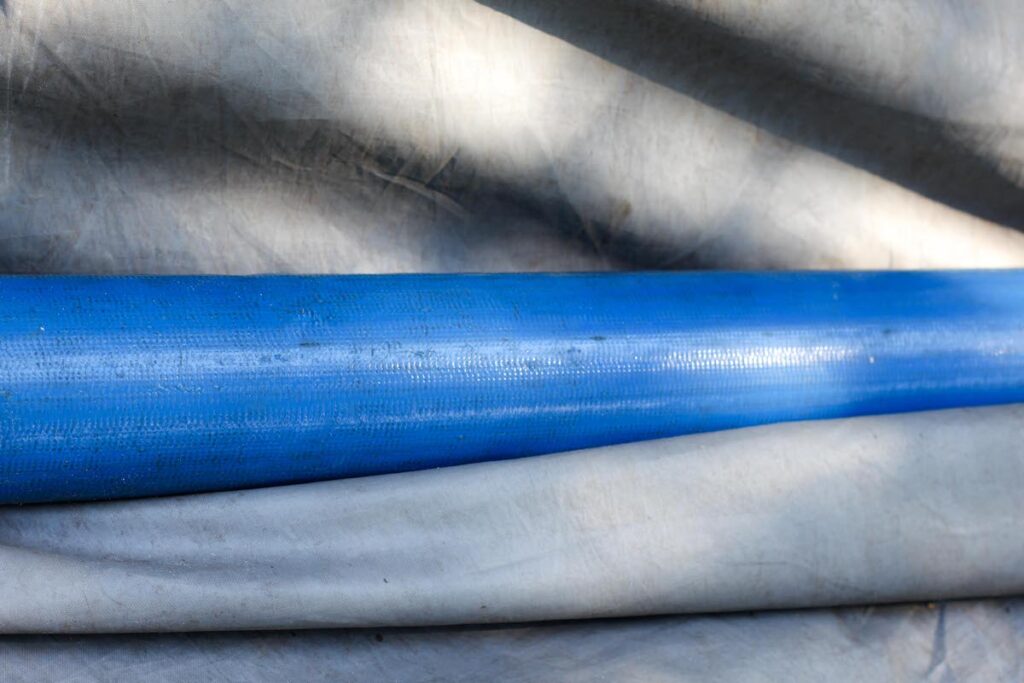
Water and sand-filled bags anchor the tent to the ground to create a tight seal. This is the key to a successful termite tent fumigation.
Stage Four – Introduction of Fumigant
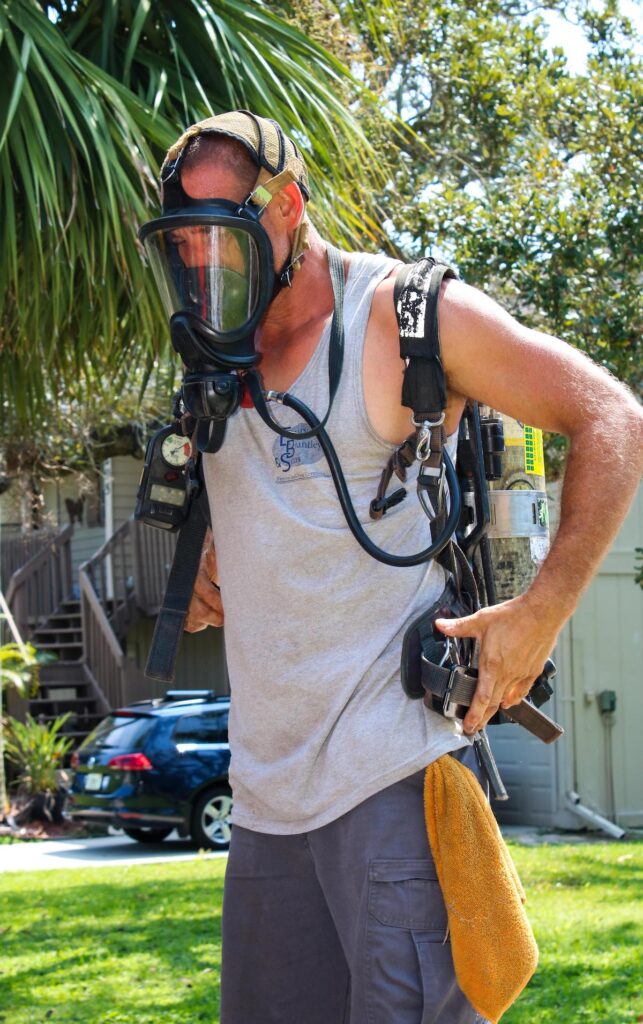
The next stage of drywood termite tenting is the introduction of a fumigant to eradicate the termites. A product using sulfuryl fluoride, the active ingredient of Vikane® fumigant, is pumped into the tent surrounding the home. It was specifically developed to be used exclusively by professional fumigators for structural fumigation since 1961. Vikane® is an odorless, tasteless, colorless, nonflammable, and noncorrosive gas. Most residential properties have an exposure time between 16 to 24 hours to be effective in the removal of drywood termites.
Stage Five – Remove Tarp and Aerate
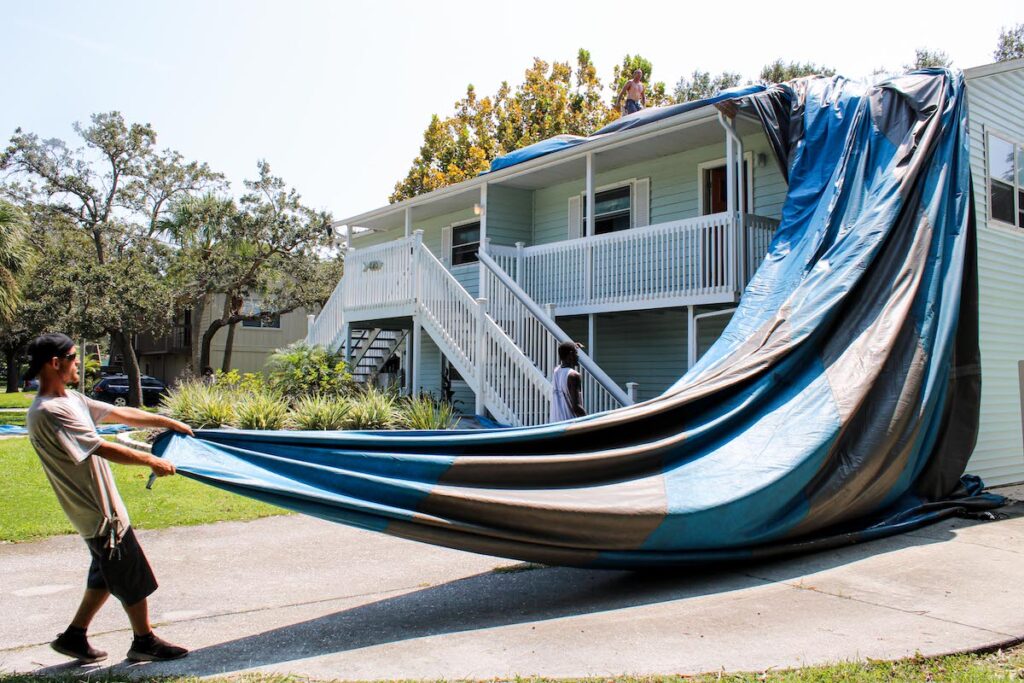
Stage five is to remove the tarp and allow for aeration of the gas. Our staff removes the tarps and tension clamps around the entire house and roof areas. The water is drained from the anchor bags, and we roll up the tarp materials. We use high-speed fans for cross ventilation of the home for one hour as required by law to remove any remaining gas.
Stage Six – Close Up House
Next, we close up the house. Lock all of the doors. Then, we allow for a “sit time period” overnight. The next day we return to check for any remaining gas. Once we determine there is no gas remaining, we certify the home safe for re-entry.
Stage Seven – Family Returns Termite Free

Now the best and final stage. The family gets to return to their home termite-free. The Vikane® gas leaves no residue on your floors, pots, pans, silver, clothing, or linens. You can return all of the items that you removed off-premise before the tenting and feel relieved that your home is safe and so are you and your family. Your fumigation warranty is in place, or you can consider Drive-Bye Exterminator’s Superior Service Extended Warranty with a lifetime yearly renewal option.
If you suspect termites in your home, contact Drive-Bye Exterminators by calling 727-787-2127 or booking an appointment.
Drive-Bye Exterminators offers home and commercial pest control services in Clearwater, Florida, and the surrounding areas. Family owned and operated for over 25 years, Drive-Bye Exterminators has state-certified inspectors, and exterminators provide roach, subterranean termite, dry wood termite, roaches, spider, ant, and flea services to both commercial and residential clients. Whether a business owner needs help getting rid of a termite infestation, or a homeowner wants to rid their kitchen of ants, Drive-Bye Exterminators offers each client the same level of professionalism and excellence.
Request a FREE Pest Control or Termite Inspection today with the Professionals of Drive-Bye Exterminators. Contact Us Today at 727-787-2127.

